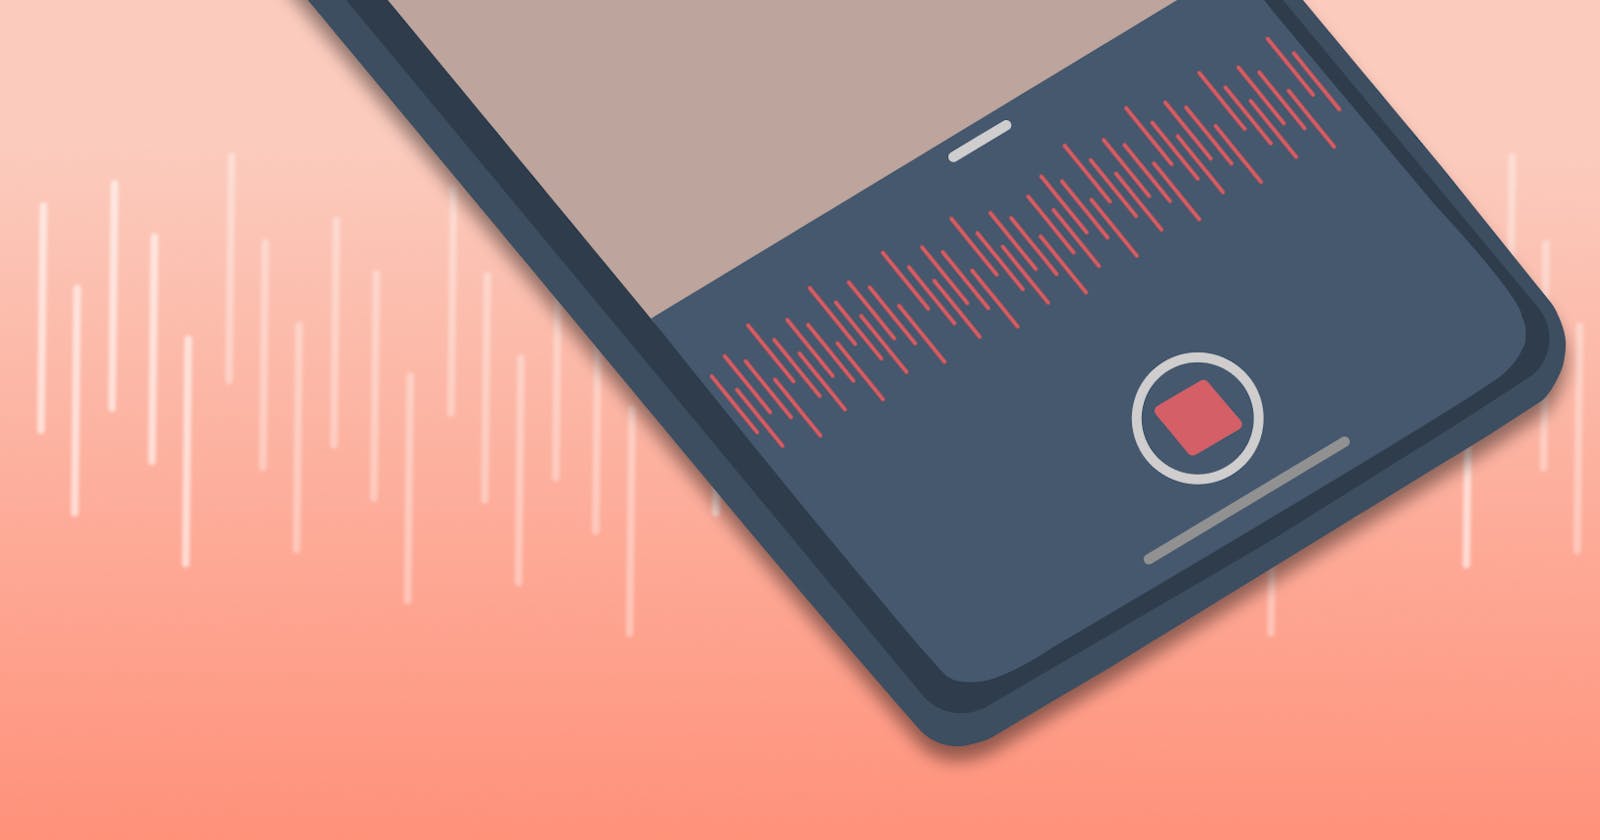


Several months ago, I really wanted to create a voice recorder with an audio visualizer like Apple’s Voice Memos app. As a beginner, I googled a lot but I couldn’t find anything that worked or did what I really wanted. Therefore I decided to go for it and try to build it myself.
Follow my learning path and see how to create a voice recording app, that has audio visualization as well as a record button just like Apple’s Voice Memos app.
The basic setup.
Of course, I’m going to start by creating a new project. Call it on your own taste, I’m going to call mine VoiceMemosClone. Make sure the app is working and you get this satisfying white screen. Now everything looks great, but before we go any farther let’s break the original Voice Memos app into smaller pieces.
Personally, I find it very difficult to start building/ coding something without preparing first, also I find it very intimidating. Therefore, I like cracking everything into smaller pieces and solve every small task alone.
So if you look at Apple’s Voice Memos app, you’ll find several key features: **1. The draggable bottom view.
- The animation of the recording/ stop button.
- The audio visualizer while recording.
- Actual recording.**
Now, let’s build them together!

Prepare the basic User Interface.
In Main.storyboard in the ViewController, embed in a NavigationController, check PrefersLargeTitles, and give it “Voice Memos” as a title.
1. The Card View.
First, add two containerViews to the View Controller. One of them is a RecordingsViewController and the other one is that RecorderViewController. Create a new UIViewController Classes from the File -> New menu, choose UI Cocoa Touch Class file.
Change the background color of the RecorderViewController to ViewFlipsideBackgroundColor, change the size property to Freeform. And In the Size Inspector make the hight 150. Add also a UIView and make it the same size as the ViewController and give it a black color with 45% alpha. In RecordingsViewController add to it a tableView and add also a UIView just like you did in RecorderViewController, and in both UIViews check the Hidden property. Finally, connect the outlets of the UIViews you just created.

I like following Sean Allen approach of building the UI, it’s called “Skeletal Storyboards”. If you don’t know what I’m talking about check out his video here. Therefore let’s jump in the RecorderViewController.
In the RecorderViewController we will be doing almost everything. But first, if you took a look at what we are trying to build and analyze it, you will find the following.

So, let’s start with the handle view. In RecordViewController.swift add a new property (call it handleView) and a private method (call it setupHandleView). Also, setup the layout constrains and don’t forget to call setupHandleView() in viewDidLoad().
//MARK:- Properties
var handleView = UIView()
//MARK:- Setup Methods
fileprivate func setupHandelView() {
  handleView.layer.cornerRadius = 2.5
  handleView.backgroundColor = UIColor(r: 208, g: 207, b: 205)
  view.addSubview(handleView)
  handleView.translatesAutoresizingMaskIntoConstraints = false
  handleView.widthAnchor.constraint(equalToConstant: 37.5).isActive = true
  handleView.heightAnchor.constraint(equalToConstant: 5).isActive = true
  handleView.centerXAnchor.constraint(equalTo: view.centerXAnchor).isActive = true
  handleView.topAnchor.constraint(equalTo: view.topAnchor, constant: 10).isActive = true
  handleView.alpha = 0
}
You will get an error saying “Argument labels ‘(r:, g:, b:)’ do not match any available overloads”. That’s because I’ve made an extension file for the UIColor. So, create a new Swift file, call it Extensions and add the following code in it. Some of the code below we will be using it in the future. Everything should work fine now.
import UIKit
public extension UIColor {
  public convenience init(r: CGFloat, g: CGFloat, b: CGFloat) {
    self.init(red: r/255, green: g/255, blue: b/255, alpha: 1)
  }
}
extension Int {
  var degreesToRadians: CGFloat {
    return CGFloat(self) * .pi / 180.0
  }
}
extension Double {
  var toTimeString: String {
    let seconds: Int = Int(self.truncatingRemainder(dividingBy: 60.0))
    let minutes: Int = Int(self / 60.0)
    return String(format: "%d:%02d", minutes, seconds)
  }
}
2. The Record Button.

I wanted to create a recording button just like the app and I did a search and found out a great article here. In this article Mark Alldritt go through how he created the button animation. I really recommended you to read it. Anyways, just copy the RecordButton.swift and the RecordButtonKit.swift files alongside with copying the StartRecording and the StopRecording sound files.
To make it work you will have to install the PRTween pod. So, create a pod file in your project directory and install it. The pod is in Objective-C. Therefore, we will have to create an Objective-C Bridge file.
To create the Objective-C Bridge file: from File -> New -> File, choose Header File, it’s really important what you will name your header file so pay attention here “nameOfYourProject-Bridging-Header.h”. I will name mine “VoiceMemosClone-Bridging-Header.h”, add it to your project folder. Finally, choose your app target and go to Build Settings, make sure All is selected on top, find Objective-C Bridging Header and give it the path of your header file.

Open the header file that you just created, delete everything from it, and just type this following line of code.
#import <PRTween/PRTween-umbrella.h>
Now, in your RecorderViewController.swift file add the button, its constraints, and add your handleRecording function. As always don’t forget to call it in your viewDidLoad method.
var recordButton = RecordButton()

fileprivate func setupRecordingButton() {
  recordButton.isRecording = false
  recordButton.addTarget(self, action: #selector(handleRecording(_:)), for: .touchUpInside)
  view.addSubview(recordButton)
  recordButton.translatesAutoresizingMaskIntoConstraints = false
  recordButton.bottomAnchor.constraint(equalTo: view.bottomAnchor, constant: -32).isActive = true
  recordButton.centerXAnchor.constraint(equalTo: view.centerXAnchor).isActive = true
  recordButton.widthAnchor.constraint(equalToConstant: 65).isActive = true
  recordButton.heightAnchor.constraint(equalToConstant: 65 ).isActive = true
}
Now we need to show a couple of things when you click on the recordButton; the audioView and the timeLabel. So, add a label and a uiview(for now) to the recorderViewController. When we tap on the button we need some animation on the card view, here is what I did.
@objc func handleRecording(_ sender: RecordButton) {
  if recordButton.isRecording {
    audioView.isHidden = false
    UIView.animate(withDuration: 0.5, delay: 0, usingSpringWithDamping: 1, initialSpringVelocity: 1, options: .curveEaseOut, animations: {
      self.handleView.alpha = 1
      self.timeLabel.alpha = 1
      self.audioView.alpha = 1
      self.view.frame = CGRect(x: 0, y: self.view.frame.height, width: self.view.bounds.width, height: -300)
      self.view.layoutIfNeeded()
    }, completion: nil)
    self.checkPermissionAndRecord()
  } else {
    audioView.isHidden = true
    UIView.animate(withDuration: 0.5, delay: 0, usingSpringWithDamping: 1, initialSpringVelocity: 1, options: .curveEaseOut, animations: {
    self.handleView.alpha = 0
    self.timeLabel.alpha = 0
    self.audioView.alpha = 0
    self.view.frame = CGRect(x: 0, y: 0, width: self.view.bounds.width, height: 150)
    self.view.layoutIfNeeded()
    }, completion: nil)
    self.stopRecording()
  }
}
3. AudioVisualizerView
Create a UIView class and the following to it, to create the audio visualizer.
import UIKit

class AudioVisualizerView: UIView {

    // Bar width
    var barWidth: CGFloat = 4.0
    // Indicate that waveform should draw active/inactive state
    var active = false {
        didSet {
            if self.active {
                self.color = UIColor.red.cgColor
            }
            else {
                self.color = UIColor.gray.cgColor
            }
        }
    }
    // Color for bars
    var color = UIColor.gray.cgColor
    // Given waveforms
    var waveforms: [Int] = Array(repeating: 0, count: 100)

    // MARK: - Init
    override init (frame : CGRect) {
        super.init(frame : frame)
        self.backgroundColor = UIColor.clear
    }

    required init?(coder decoder: NSCoder) {
        super.init(coder: decoder)
        self.backgroundColor = UIColor.clear
    }

    // MARK: - Draw bars
    override func draw(_ rect: CGRect) {
        guard let context = UIGraphicsGetCurrentContext() else {
            return
        }
        context.clear(rect)
        context.setFillColor(red: 0, green: 0, blue: 0, alpha: 0)
        context.fill(rect)
        context.setLineWidth(1)
        context.setStrokeColor(self.color)
        let w = rect.size.width
        let h = rect.size.height
        let t = Int(w / self.barWidth)
        let s = max(0, self.waveforms.count - t)
        let m = h / 2
        let r = self.barWidth / 2
        let x = m - r
        var bar: CGFloat = 0
        for i in s ..< self.waveforms.count {
            var v = h * CGFloat(self.waveforms[i]) / 50.0
            if v > x {
                v = x
            }
            else if v < 3 {
                v = 3
            }
            let oneX = bar * self.barWidth
            var oneY: CGFloat = 0
            let twoX = oneX + r
            var twoY: CGFloat = 0
            var twoS: CGFloat = 0
            var twoE: CGFloat = 0
            var twoC: Bool = false
            let threeX = twoX + r
            let threeY = m
            if i % 2 == 1 {
                oneY = m - v
                twoY = m - v
                twoS = -180.degreesToRadians
                twoE = 0.degreesToRadians
                twoC = false
            }
            else {
                oneY = m + v
                twoY = m + v
                twoS = 180.degreesToRadians
                twoE = 0.degreesToRadians
                twoC = true
            }
            context.move(to: CGPoint(x: oneX, y: m))
            context.addLine(to: CGPoint(x: oneX, y: oneY))
            context.addArc(center: CGPoint(x: twoX, y: twoY), radius: r, startAngle: twoS, endAngle: twoE, clockwise: twoC)
            context.addLine(to: CGPoint(x: threeX, y: threeY))
            context.strokePath()
            bar += 1
        }
    }

}
Now, in RecorderViewController.swift change the audioView to:
**var** audioView = AudioVisualizerView()
Now you just need to set up the recorder and actually record!
The final result.

I’m really happy with the final result… however, there are a few enhancements that maybe you could make it to this project, like: 1**. Adding a deleting functionality.
- Add auto layout, because it’s now only working on iPhone X or XS.
- Make the cardView (Recorder) draggable.**
Conclusion.
Ultimately I’m really happy with what I was able to achieve. Not only is it functional, but I had a lot of fun doing it!
I’d love to hear about any experiences you may have about a similar project. I’d also like to see what you may do differently to achieve a better result.
I’m now looking forward to the next blog, what should I try to build next?
If you aren’t a designer you can also buy some great iOS App Templates and if you are more interested in React Native App Templates you can buy them from here they have a really great collection.
The full project is on GitHub.
Feel free to use it! HassanElDesouky/VoiceMemosClone A clone for Apple's Voice Memos app. github.com
Resources.
I couldn't have ever gotten to this results without these guys great work. So, please check them out.
- The record button by Mark Alldritt, GitHub repo here.
- Simple Recorder by Sergey Yuryev, GitHub repo here.
- How to record audio by Paul Hudson, tutorial link here.
Shoutout to: **Mohammed Elnaggar who helped me in making this project. [Mohammed Ennabah](twitter.com/M_Ennabah) who helped me in making this article. [Lisa Dziuba](twitter.com/LisaDziuba) **who helped me in making and styling the article.